
Introduction
I recently bought an M2 Mac, and while I’m really happy with it, there sometimes can be challenges with the ARM architecture. VMWare Fusion was recently updated to support the ARM Architecture[1].
A few weeks ago, Ubuntu released a new kernel to Ubuntu that caused some real problems for Ubuntu while in VMWare. In essence, upon booting, you’d be greeted with a screen such as below:
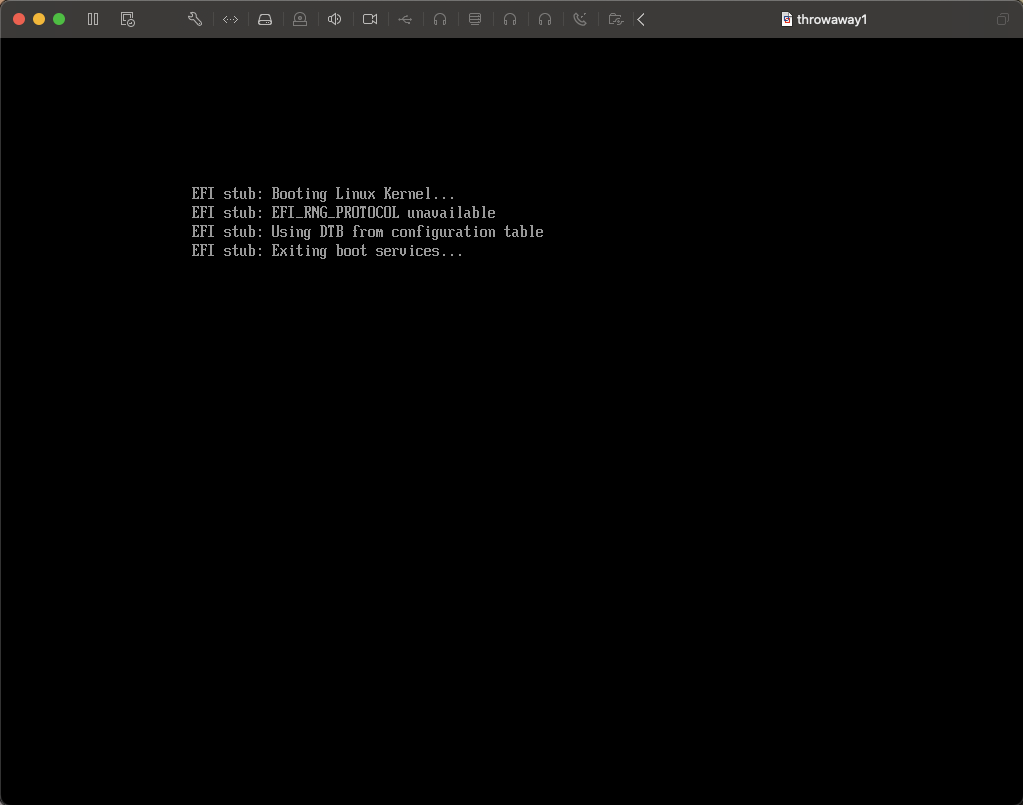
This happened in two cases:
- You updated an older version of Ubuntu to the newest kernel (as of this writing): 5.19.0-31
- You installed a fresh version of Ubuntu using the arm ISO.
Depending on your case, you have, potentially some extra work (in the case of #2), both solutions are below.
Fixing a Fresh Install
To fix a Fresh Install, go through the install process like normal. The main difference or thing to watch for is to make sure you install SSH server during the install process.
Once you’re greeted with the bug screen above, then look at your VMWare Library window. You should see an IP Address attributed to the machine. If you’re having troubles finding it, run something like the following:
vmrun -T fusion getGuestIPAddress /PATH/TO/VM/FOLDER/VM_NAME.vmx
Then, ssh into the machine from your mac.
Once you’re in, install the following:
sudo apt-get install linux-image-5.19.0-29-generic linux-headers-5.19.0-29 linux-modules-extra-5.19.0-29-generic
At this point, you may also want to remove the linux-generic. This is a personal decision. If you remove this package, you won’t get updates to the kernel. You can, and should, still upgrade them - but it’ll be up to you to do so. This, in my opinion, is the safe option to prevent problems like what we’re trying to fix now.
Once you’re done with this, go to the next section.
Fixing an Upgrade
If you’ve upgraded your system recently, and the kernel changed, then you likely have both the 5.19.0-29 and 5.19.0-31 kernels installed currently.
There are two options available to you. You can either fix the boot order, or you can prevent this problem in the future.
Fixing Boot Order (Quick Fix)
Edit the /etc/default/grub file and under the GRUB_DEFAULT line change it to be:
GRUB_DEFAULT='Advanced options for Ubuntu>Ubuntu, with Linux 5.19.0-29-generic'
Run sudo update-grub then sudo systemctl reboot
Fixing Permanently
WARNING The permanent fix, in my opinion, is BETTER, but you need to pay more attention to the updates that come out for the kernel. Meaning, take a snapshot, update the kernel to the newest version, if it works, then stick with it. If it doesn’t, restore backup and continue as normal. Keeping the security of your system up to date becomes more YOUR RESPONSIBILITY - proceed at your own risk.
Run the following:
sudo apt-get remove linux-generic linux-image-5.19.0-31-generic linux-headers-5.19.0-31 linux-headers-5.19.0-31-generic linux-modules-5.19.0-31-generic linux-modules-extra-5.19.0-31-generic
Note that the above you’ll get a warning/error. You can proceed with the grub change, reboot, then run the above, then remove the grub changes.
Or, you can just proceed with the error (which is what I did), and reboot. If you do that, just note that your system is in a unsafe state, and don’t do much else.